
DIY Baby Tie Onesie Tutorial
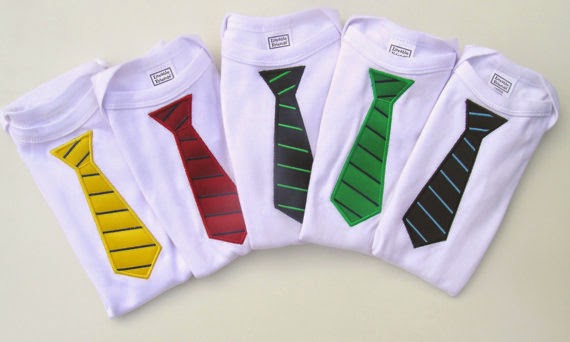
(credit: Etsy)
Have you seen these adorable tie onesies? They are all over Etsy and SO stinkin cute!

Today I'm going to show you how to make one of these yourself - super easy and super quick.
Materials:
Baby Onesie (in any size or color color you desire)
Fabric for tie
Heat N Bond
Thread
Iron
Ironing Board
Let's get started!
1. Print off this tie pattern HERE. I saved the image to my Desktop than sized mine down to 44% when printing because I am sewing these onto a 0-3 month onesie.

2. Cut out the tie pattern and size it up to your onesie. If you like the size of the tie, than let's keep going. If you don't like the size of the tie, you can print more and adjust the percentage to what you like.

3. Take your fabric and pin the pattern to the front side of your fabric. Cut out your fabric

4. Take the Heat N Bond and cut out the same tie pattern piece from that

5. Lay the textured side of the Heat N Bond on the BACK side of your fabric, so the paper side of the Heat N Bond is facing up - iron together.
6. Once that has cooled, pull off the paper and position the tie on your onesie.

7. Iron on the tie
8. You could stop here and have a no-sew tie onesie, buut I like to make sure it's going to stay REAL good, so I do a decorative stitch all the way around the tie. Clip all threads and you are DONE!


Now you have a super cute tie onesie that is perfect for a baby shower gift (or for yourself!)


No comments:
Post a Comment