Today I will teach you how to make a lovely Pinwheel Quilt block! These pinwheel blocks are the perfect addition to many of the quilts we have made and don't take very much time once you get the hang of it. We also love using precut Charm pack squares, as they are 5 x 5 inches and save you the time in cutting your own!
Materials needed:
- Two 5 inch x 5 inch square piece of fabric in solid white
- Two 5 inch x 5 inch square piece of fabric in pattern of your choice
- Rotary cutter and mat
- Pencil
- Ruler
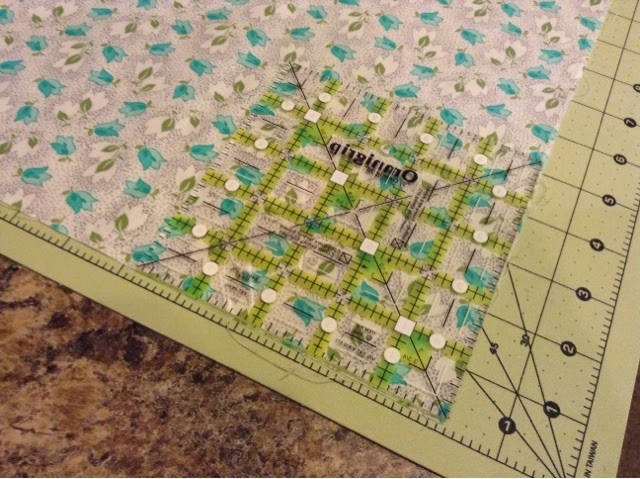
- 5 inch x 5 inch quilting ruler for cutting out squares (
Amazon link)
Two solid color white blocks along with two pattern blocks will create ONE pinwheel measuring 8.5" x 8.5" inches before trimmed.
Let's get started!
1. Gather all your materials
2. Take all your white fabric squares and using a ruler and a pencil, draw a diagonal line on ONE side of the fabric -- going from one corner to the other.
3. Using your 5" x 5" quilting ruler, cut out your white & patterned fabric squares (if not already using a Charm Pack). I needed to make 6 Pinwheels and I was using a white charm pack already so I cut out 12 5x5" blocks from my patterned fabric.
4. Time to sew! Take one white square and one patterned square, right sides together, and your white fabric on top with side with your line facing up. You are going to use your pencil line as a guide, lining up your sewing machine foot with the edge of the line & sewing down one side of the line from corner to corner -- than flipping the square around and going down the other side. This means each square will have two sewn lines, one down either side of the pencil line.
5. Do this to all of your blocks - I typically like to chain stitch them all down one side, than once I get to the end, turn it around and chain stitch down the other side. This makes it easier for me to save all the clipping of threads until the very end and doing it all at once. In the end, this means that you will have a chain of pieces held together by the thread between them.
If you aren't familiar with chain stitching, it simply just means that once you get to the end of your very first block, you just simply put the second block under your foot and keep sewing. You don't clip threads and this saves time and thread. *see more
here
6. Once you have done this to every block, clip all your threads. Take each block and using your ruler as a guide, cut straight down your pencil line with your rotary cutter - creating two triangles.
7. Iron and press open each triangle.
8. Arrange your 4 same-patterned triangles to form a pinwheel shape.
9. Take your top two triangles and lay the right on top of the left, right sides together & lining up the right edge. Sew down the right edge.
10. Open and press. Repeat with the bottom two triangles.
11. Now you have two rows. Lay out your two rows and place the top row right sides together, on top of the bottom row. Turn this to the right and sew down this right side.
12. Unfold and you will have your sewn together pinwheel!
13. Using your ruler and rotary cutter, square & trim down each side of the pinwheel block. Press one more time and voila! You are done!


